Main menu
You are here
Gondor Calls for Aid
NOTE - this climbing area currently inaccessible, route information for reference only
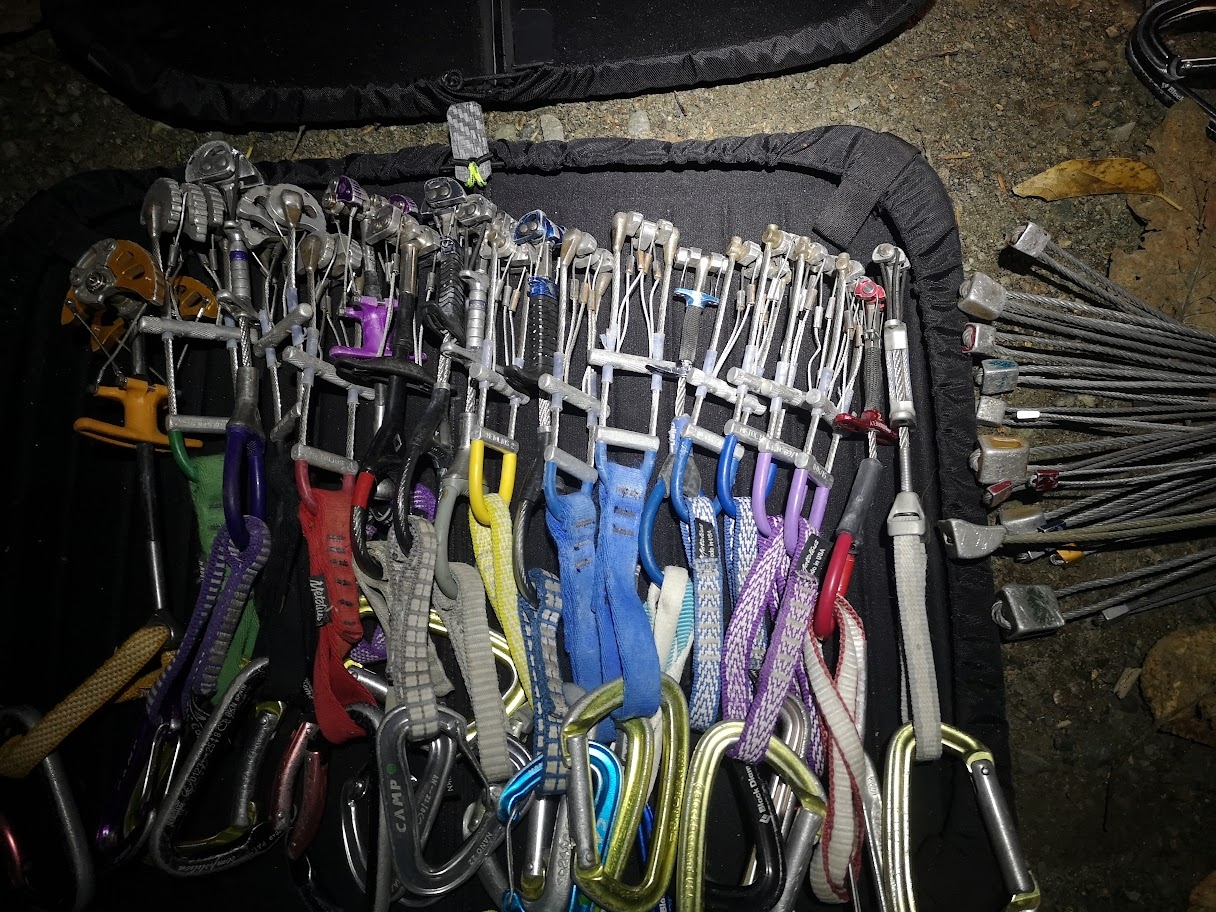
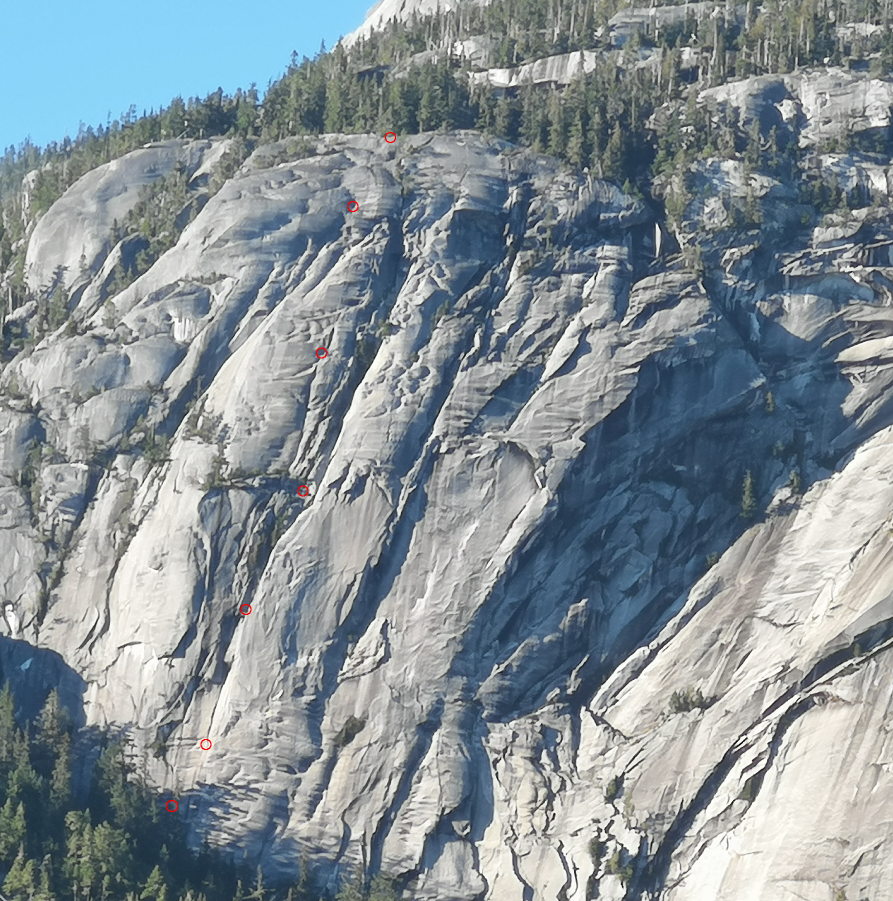
A stout 6-pitch route up the far-left (West) side of the upper wall. Mostly gear, all pitches present serious difficulties up to 5.11... climbing is varied, challenging and fairly sustained. Bring rack to 2", heavy towards the small sizes... doubles at 1", triples through the 0.5" range, and many multiples of small sizes. Small wires are also important. First ascent rack is pictured below. All belays are equipped for rapping; 70M ropes recommended.
Pitch 1: A unique pitch of face climbing, starting up sharp edges past 6 bolts to a dynamic move to a jug at the base of an easy crack. Continue up to a slopey horizontal traverse, left past 3 bolts to belay. A harsh start to the day. 30m, 5.11+
Pitch 2: A superb pitch of laybacking and corner work. One bolt protects a shut section of the layback flake, but the rest is (mostly small) gear. Pumpy climbing over beautiful rock. 50m, 5.11
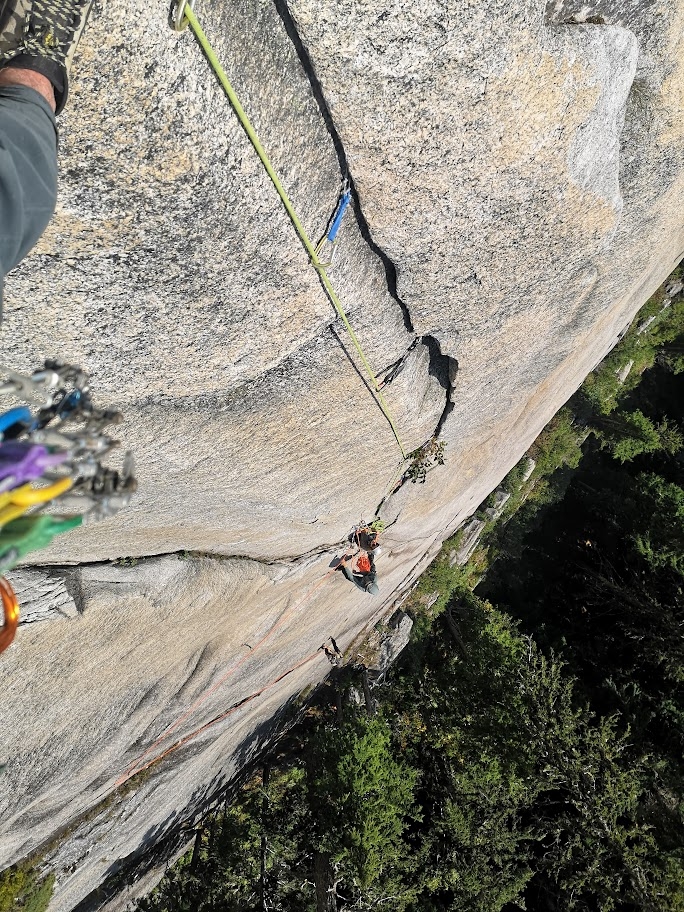
Pitch 3: Reach around the arete directly right of the belay, and gain the surprise hand-crack feature. Climb discontinuous cracks up the arete, mix of gear and bolts, until the angle steepens and the holds disappear; reach around right past a bolt to a delicate face traverse and thin moves up sharp edges with great exposure. Continue up the slippery arete past more bolts until the terrain eases; trend left over blocks to belay and wide ledge. 40m, 5.11
Pitch 4: Take on the obvious looming crack system directly above. Longer and more arduous than it looks. Start in a short handcrack and continue up discontinuous features until it is possible to move left into the main feature. Exciting climbing in the bottom half leads to a cruxy mid-section; easily aid through the difficulties (small wires) or attempt to free (5.12?). The upper section continues to be pumpy, although easier than the first half. 50m, 5.11 +3pa
Pitch 5: An outrageous pitch that never seems to end; it will consume your entire rack. Start up the corner crack directly above the belay; a thin start leads to easy fingers. Pull over a bulge, and move left into a short face crack. As the crack disappears, face climb past 2 bolts, using a 3rd bolt for aid (stand on it) or attempt to free (5.12?). Climb left through wild glacier polished features, into yet another corner crack arching right. Small gear and wild moves lead to a single bolt protecting a delicate mantle on a very polished dish. Stand up and follow the looming steep but juggy hand-cracks to belay. 60m, 5.11 +1pa
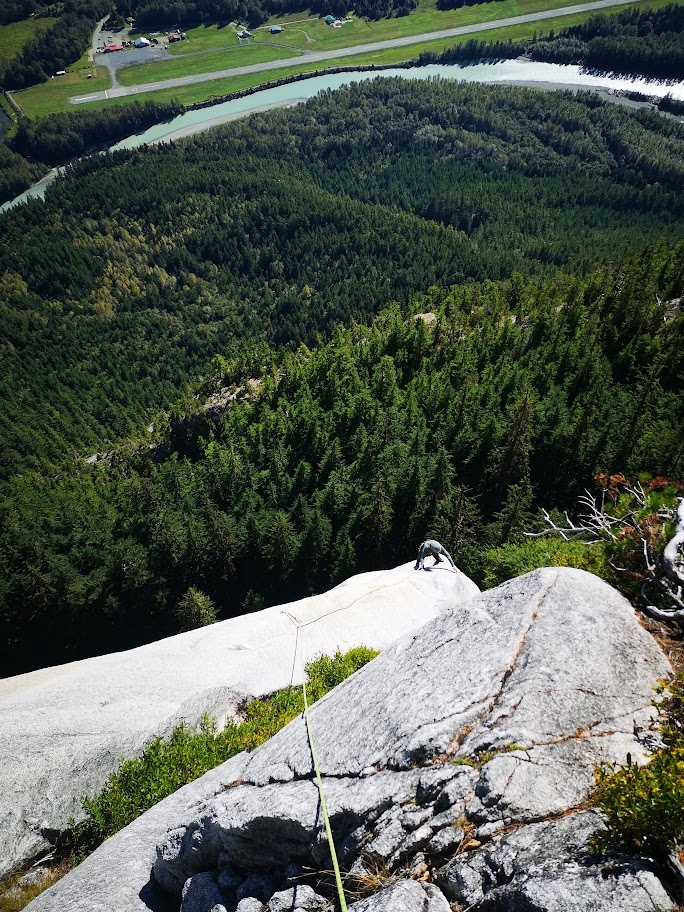
Pitch 6: Unique and fun face climbing up diorite knobs; climb past 2 bolts from the belay, then delicately move right to some thin moves through the line of weakness up the slab, to a small alcove and another bolt. Climb up positive knobs through a steep bulge, past another bolt, to easier ground. Find the next set of bolts, pull some thin slab moves, climb the final rib to final anchors and belay ledge. Challenging right until the final moves! 40m, 5.11
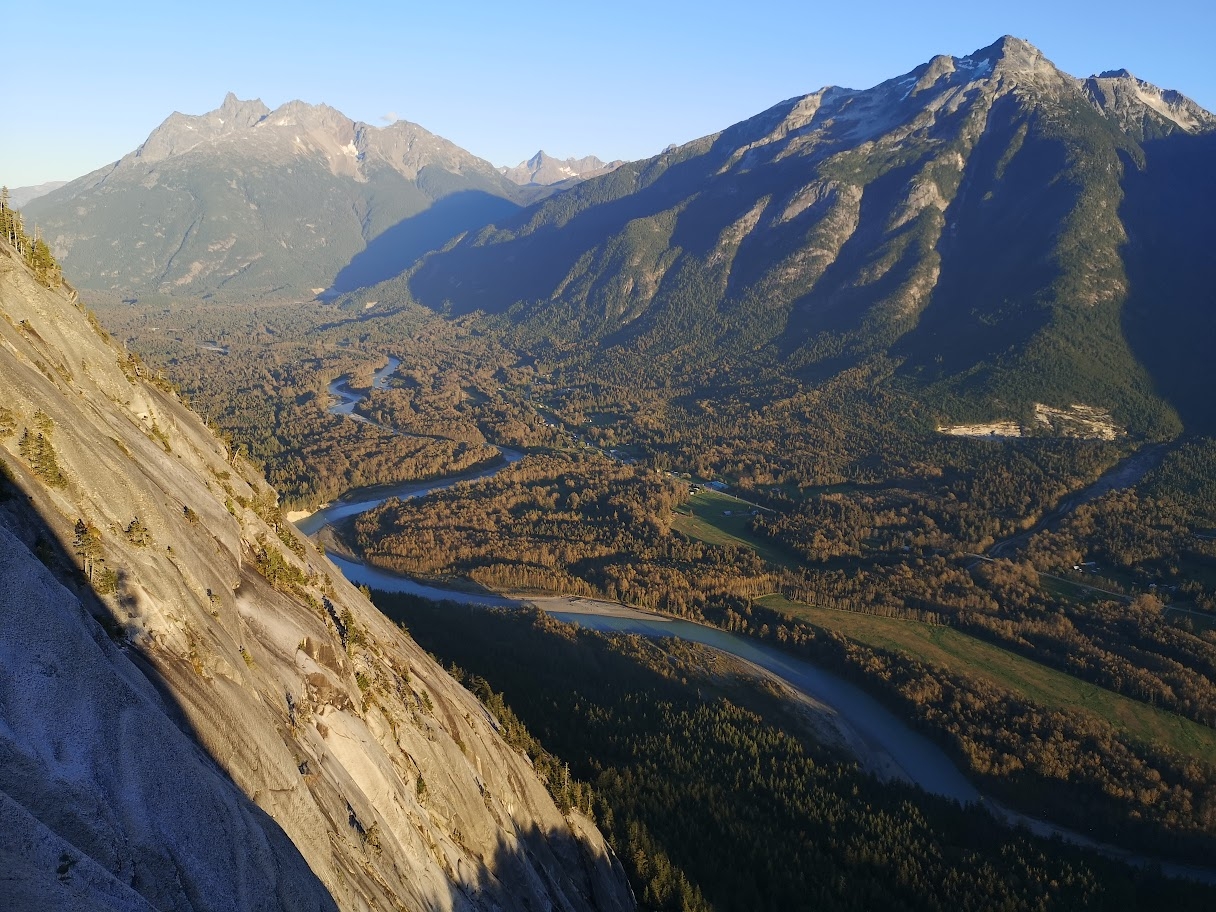
WARNING, this is an involved approach! Scout river conditions at put-in and pull-out points beforehand!
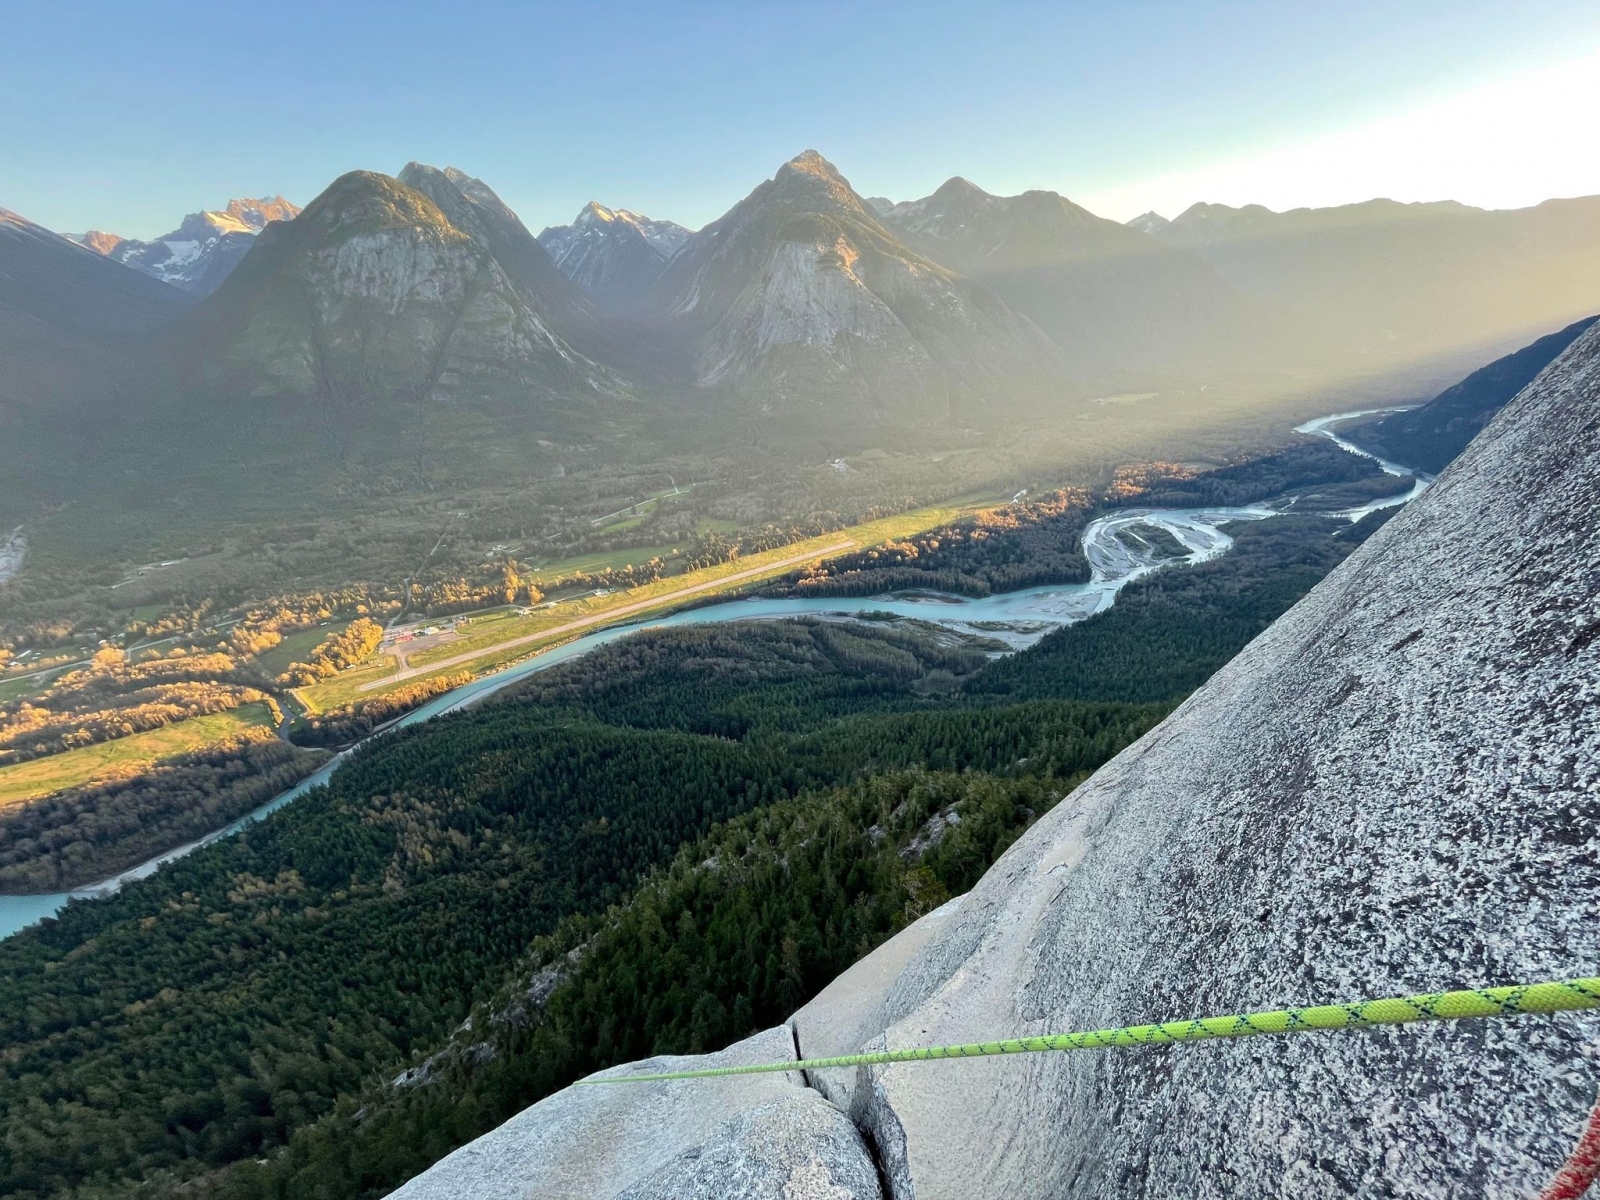
Approach REQUIRES CANOE CROSSING; trail is unmarked; launch canoe as able, drift downstream (see image below) to avoid private property, land on the North bank and find your way East to the lower wall, then scramble up to the base of the Eastern part of the main upper wall, to gain the broad timber ledge separating upper and lower walls; follow the base of the wall West to beginning of the route, on a distinct ledge with 2 large Douglas Fir. (See image below)
For descent, rap the route and reverse the approach.
FA 2022 - Devon Girard, Joe Moric, Erin Nevison, Liam McNaughton